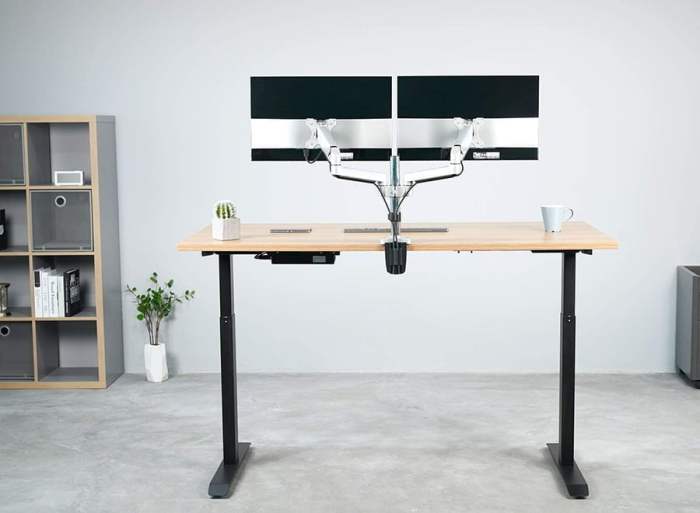
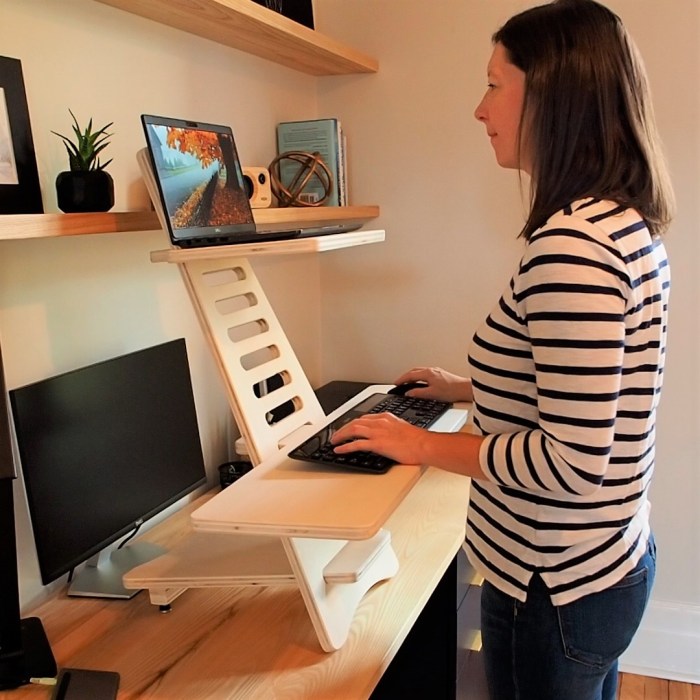
A DIY standing desk converter can be your ticket to a healthier and more productive work environment. It’s a simple yet powerful solution to combat the sedentary lifestyle, and the best part? You get to create it yourself! This project combines the practicality of a standing desk with the satisfaction of building something unique, allowing you to customize your workspace to perfectly fit your needs.
Imagine standing up and stretching your legs throughout the day, improving your posture and boosting your energy levels. A DIY standing desk converter empowers you to transform your existing desk into a versatile work station, seamlessly switching between sitting and standing positions. This guide will walk you through every step, from selecting the right materials to assembling your own custom-made desk converter.
Design Considerations

When designing a DIY standing desk converter, you must consider stability, adjustability, and ergonomics. The right design will depend on your individual needs and workspace constraints.
Base Design
The base is the foundation of your standing desk converter, so it needs to be strong and stable. You can choose from a variety of base designs, each with its own advantages and disadvantages.
- X-shaped base: This design is popular because it is very stable and provides a wide footprint. The X-shaped base is usually made of metal and provides a strong base for the converter.
- T-shaped base: This design is similar to the X-shaped base but with only two legs. The T-shaped base is usually made of wood or metal and can be more compact than the X-shaped base.
- Single-leg base: This design is the most compact and lightweight option. The single-leg base is usually made of metal and is often used for converters with a smaller platform.
Platform Design
The platform is the surface where you will place your laptop, keyboard, and mouse. You can choose from a variety of platform designs, each with its own advantages and disadvantages.
- Solid platform: This design is the most common and provides a stable surface for your equipment. The solid platform is usually made of wood or metal and can be easily customized to fit your needs.
- Tilting platform: This design allows you to adjust the angle of the platform, which can be helpful for improving ergonomics. The tilting platform is usually made of wood or metal and can be adjusted with a lever or knob.
- Adjustable platform: This design allows you to adjust the height and angle of the platform, which can be very helpful for improving ergonomics. The adjustable platform is usually made of wood or metal and can be adjusted with a lever, knob, or gas spring.
Height Adjustment Mechanism
The height adjustment mechanism is what allows you to raise and lower your standing desk converter. You can choose from a variety of height adjustment mechanisms, each with its own advantages and disadvantages.
- Manual crank: This design is the most affordable option and is relatively easy to use. The manual crank is usually made of metal and can be used to adjust the height of the converter.
- Gas spring: This design is more expensive than the manual crank but is much easier to adjust. The gas spring is usually made of metal and can be used to adjust the height of the converter with a simple push or pull.
- Electric motor: This design is the most expensive option but is also the most convenient. The electric motor is usually made of metal and can be used to adjust the height of the converter with a button or remote control.
Choosing the Right Design
When choosing the right design for your DIY standing desk converter, you need to consider your individual needs and workspace constraints.
- Stability: If you are planning to use your standing desk converter for long periods of time, it is important to choose a design that is very stable. This is especially important if you are using a large or heavy laptop.
- Adjustability: If you want to be able to adjust the height of your standing desk converter easily, you need to choose a design with a good height adjustment mechanism.
- Ergonomics: If you are concerned about ergonomics, you should choose a design with a platform that can be adjusted to the right height and angle for your body.
- Workspace constraints: If you have limited workspace, you need to choose a design that is compact and doesn’t take up too much space.
Step-by-Step Construction Guide: Diy Standing Desk Converter

This guide provides a detailed step-by-step construction guide for building a DIY standing desk converter. Each step includes clear instructions, diagrams, and helpful tips for a successful build.
Materials and Tools
The materials and tools required for this project will vary depending on the design of your standing desk converter. However, here is a general list of common materials and tools:
- Wood (for the top, legs, and support beams)
- Metal brackets (for attaching the top to the legs)
- Screws and nuts
- Sandpaper
- Wood glue
- Stain or paint (optional)
- Measuring tape
- Saw
- Drill
- Screwdriver
- Clamps
It is important to choose high-quality materials that are durable and suitable for the weight of your computer and other equipment. The wood should be sturdy and free of knots or defects. The metal brackets should be strong enough to support the weight of the top and the equipment.
Step 1: Cut the Wood, Diy standing desk converter
The first step is to cut the wood to the desired dimensions. You will need to cut the wood for the top, the legs, and the support beams. The dimensions of the top should be large enough to accommodate your computer, keyboard, and mouse. The legs should be tall enough to raise your work surface to a comfortable standing height. The support beams should be the same width as the legs and should be long enough to span the distance between the legs.
Use a saw to cut the wood to the desired dimensions. Be sure to measure carefully and make accurate cuts. You can use a saw, jigsaw, or table saw.
Step 2: Assemble the Legs
Once you have cut the wood, you can assemble the legs. You will need to attach the support beams to the legs using screws and wood glue. The support beams should be attached to the inside of the legs, creating a strong and stable frame.
Use wood glue and screws to attach the support beams to the legs. Make sure the screws are long enough to go through the support beams and into the legs. Use clamps to hold the pieces together while the glue dries.
Step 3: Attach the Top
Once the legs are assembled, you can attach the top. You will need to use metal brackets to attach the top to the legs. The brackets should be placed at the corners of the top and should be screwed into the legs.
Use metal brackets to attach the top to the legs. Make sure the brackets are strong enough to support the weight of the top and the equipment. Use screws to attach the brackets to the top and the legs.
Step 4: Sand and Finish
Once the standing desk converter is assembled, you can sand and finish it. Sand the wood with sandpaper to smooth out any rough edges. You can then stain or paint the wood to your liking.
Use sandpaper to smooth out any rough edges on the wood. You can then stain or paint the wood to your liking. Use a paintbrush or a roller to apply the stain or paint.
Step 5: Test and Adjust
Once the standing desk converter is finished, you can test it out. Place your computer, keyboard, and mouse on the top and adjust the height to a comfortable standing position. You may need to make adjustments to the height of the legs or the position of the top.
Place your computer, keyboard, and mouse on the top and adjust the height to a comfortable standing position. You may need to make adjustments to the height of the legs or the position of the top.
Building your own standing desk converter is a rewarding experience that offers a unique blend of practicality and personal satisfaction. You gain control over the design, materials, and functionality, creating a workspace that truly reflects your individual needs and style. From the initial planning to the final assembly, each step allows you to personalize your project, adding your own touch to a vital piece of your daily routine. So, embrace the challenge, gather your tools, and embark on this exciting DIY adventure. Your body and mind will thank you for it.
A DIY standing desk converter can be a great way to add some variety to your workday and improve your posture. While you’re crafting your desk, you might also want to make a DIY multi-purpose cleaner to keep your workspace tidy and germ-free. Once your desk is set up and your cleaner is ready, you’ll be able to enjoy a more comfortable and productive work environment.
