3dsmax – 3ds Max: It’s the industry standard for 3D modeling and animation, and let’s be real, it can seem totally overwhelming at first. But don’t worry, we’re diving headfirst into everything from navigating the interface to creating mind-blowing animations. We’ll cover the basics, sure, but we’re also going deep into advanced techniques to help you level up your 3D game.
Think realistic characters, killer lighting, and effects that’ll make your jaw drop. Get ready to unleash your inner digital artist!
This guide will walk you through the essential tools and techniques within 3ds Max, from the fundamentals of interface navigation and modeling to the complexities of lighting, rendering, and animation. We’ll explore various modeling approaches, delve into material creation and texturing, and even tackle advanced topics like particle systems and rigging. By the end, you’ll have a solid foundation to create stunning 3D visuals.
3ds Max Interface and Navigation
Alright, so you’ve got 3ds Max fired up and you’re staring at… a lot. Don’t worry, it’s less intimidating than it looks. This guide will break down the interface and get you comfortable navigating this powerful 3D modeling software. We’ll cover the main areas, how to move around in your 3D space, and the functions of key panels.
The 3ds Max interface is customizable, but the core elements remain consistent. Understanding these basics is crucial for efficient workflow.
Main Interface Elements
The 3ds Max interface is comprised of several key areas. The most prominent is the viewport, where you’ll see and manipulate your 3D models. Surrounding the viewport are various panels providing access to tools, modifiers, materials, and other crucial settings. The menu bar at the top provides access to all commands and settings, while the command panel (often docked at the bottom) offers quick access to frequently used tools.
The status bar, usually at the very bottom, displays information like current view, units, and selection status.
Viewport Navigation
Navigating the 3D viewport is fundamental. You’ll primarily use the mouse and keyboard. The default navigation methods are:
- Orbit: Middle mouse button (MMB) click and drag rotates the view around the center of the scene. This is your bread and butter for viewing your model from different angles.
- Pan: Hold down the MMB + Alt key and drag to move the view horizontally and vertically. Think of it like moving the camera left, right, up, or down while maintaining your zoom level.
- Zoom: Use the scroll wheel on your mouse to zoom in and out. Alternatively, you can hold down the MMB and drag vertically to zoom.
- Zoom Extents: This command (usually found in the view menu or a toolbar) zooms the view to fit the entire scene, useful for getting an overview or resetting your perspective.
Pro-tip: Mastering these basic navigation techniques is key to efficient modeling. Practice these until they become second nature. You’ll be surprised how much smoother your workflow becomes.
Essential Tools and Their Functions
ds Max offers a vast array of tools. However, some are used far more frequently than others. Understanding these key tools is vital for beginners.
- Select: The selection tool allows you to choose objects in your scene. You’ll use this constantly.
- Move: After selecting an object, the move tool allows you to reposition it in 3D space. You’ll use the X, Y, and Z axes (usually represented by arrows in the viewport) to control the direction of movement.
- Rotate: Similar to the move tool, the rotate tool allows you to change the orientation of selected objects. The same X, Y, and Z axes control the rotation.
- Scale: This tool allows you to resize selected objects. Again, the axes determine the scaling direction.
These tools, along with the viewport navigation, form the basis of most modeling tasks. Spend time practicing their use and experimenting with different combinations.
Understanding the Panels
The panels surrounding the viewport provide access to a wealth of tools and settings. Key panels include:
- Command Panel: This panel typically resides at the bottom of the interface and contains quick access buttons for frequently used commands.
- Modify Panel: This panel shows parameters for manipulating selected objects. It changes depending on what you’ve selected, providing specific tools for different object types.
- Create Panel: This panel allows you to create new objects such as boxes, spheres, and more. It’s your starting point for building your 3D scenes.
- Material Editor: This panel is where you create and assign materials to your objects, giving them color, texture, and other surface properties.
Exploring these panels and understanding their functions is key to unlocking the full potential of 3ds Max. Don’t be afraid to experiment and see what each panel offers.
Modeling Techniques in 3ds Max
Okay, so we’ve covered the basics of navigating 3ds Max. Now let’s dive into the meat and potatoes – actuallymaking* stuff. This section focuses on different modeling techniques, specifically how to build realistic characters and complex organic objects. We’ll look at polygon and NURBS modeling, comparing their strengths and weaknesses.
Okay, so I’m totally swamped with this 3ds Max project, rendering these crazy realistic textures. I need to send the final renders to my professor, so I’m gonna grab the latest version from a adobe acrobat download site to make sure everything prints perfectly. After that, it’s back to tweaking those 3ds Max models before the deadline!
Creating a Realistic Human Character Model
Building a realistic human character in 3ds Max is a multi-step process that requires a blend of artistic skill and technical know-how. It typically starts with a base mesh, often a simple, low-poly model that captures the overall form. This base mesh is then progressively refined through sculpting and subdivision surface modeling. High-resolution sculpting tools, like those found in the 3ds Max Sculpting tools or third-party plugins like ZBrush (often used in conjunction with 3ds Max), allow for detailed anatomical features and fine surface details.
After sculpting, the model is retopologized – a process of creating a new, cleaner mesh over the high-poly sculpt – which is optimized for animation and texturing. Finally, UV unwrapping is performed to map the textures onto the model’s surface, and materials are applied to achieve realism. This entire workflow often involves many iterations and adjustments. Think of it like sculpting a clay figure, then making a mold of that figure to create a more efficient and clean version for production.
Comparison of Polygon and NURBS Modeling Techniques
Polygon modeling and NURBS modeling are two fundamental approaches in 3D modeling, each with its own strengths and weaknesses. Polygon modeling uses polygons (triangles and quads) to create surfaces. It’s highly versatile and well-suited for creating detailed organic forms like characters and creatures, as well as hard-surface models like vehicles. Its advantage lies in its efficiency and direct manipulation of the mesh.
NURBS (Non-Uniform Rational B-Splines) modeling, on the other hand, uses mathematical curves and surfaces to create smoother, more precise forms. It’s particularly useful for creating smooth, curved surfaces like those found in industrial design or architectural models. However, NURBS models can be more computationally intensive and less flexible when it comes to highly detailed organic shapes. Choosing between polygon and NURBS often depends on the project’s specific needs and the artist’s preference.
For example, a car body might benefit from NURBS for its smooth curves, while a character’s face might be better modeled using polygons for the detail.
Creating a Complex Organic Object
Let’s say we want to model a realistically detailed mushroom. We’d begin by creating a simple base shape, perhaps using a cylinder for the stem and a hemisphere for the cap. These primitive shapes are then refined using the Extrude, Bevel, and Chamfer tools to add volume and shape. For example, the cap could be sculpted to incorporate subtle bumps and curves, mimicking the organic texture of a real mushroom.
We could use the Edit Poly modifier to add more polygons to specific areas, allowing for greater detail in those regions. The stem could be tapered using the Scale tool and its various options, and details like gills on the underside of the cap could be added by creating smaller shapes and boolean operations. Finally, a displacement map could be used to add even more minute details and textural complexity.
Imagine adding small pores to the mushroom’s cap and stem by creating a high-resolution bump map. This process is iterative and requires attention to detail. The goal is to build up complexity organically, gradually adding finer details to the initial base forms.
3ds Max Materials and Texturing
Okay, so we’ve nailed the basics of 3ds Max – now let’s dive into the fun stuff: making our models look realistic! This section covers materials and texturing, which are crucial for bringing your 3D creations to life. We’ll cover creating realistic materials, applying UV maps effectively, and exploring different texturing techniques. Get ready to transform your bland models into visually stunning masterpieces!
Materials and textures are what give your 3D models their visual appeal. A well-crafted material can make the difference between a believable scene and one that looks obviously fake. Understanding how to create and apply materials is a foundational skill for any 3D artist. Think of it like painting a real-world object – you wouldn’t paint a wooden chair with a shiny metallic texture, right?
The same principles apply in 3D modeling.
Realistic Wood Grain Material
Creating a realistic wood grain material involves using the 3ds Max Material Editor. We’ll start with a standard material and then layer in different maps to achieve a convincing look. First, we’ll use a Wood texture map for the base grain. This map will provide the primary wood pattern. Next, we’ll add a Noise map to create subtle variations in the wood’s color and grain, adding depth and realism.
Finally, we’ll layer a Bump map to simulate the texture of the wood grain, giving it a tactile quality. By adjusting the parameters of each map, such as scale, contrast, and color, you can fine-tune the appearance of the wood to match different types of wood, like oak, pine, or mahogany. For example, a larger scale on the wood map would create a more pronounced grain, while a smaller scale would create a finer grain.
Experimentation is key! The final result should be a material that looks convincingly like real wood, capturing its intricate details and subtle variations.
UV Mapping for Efficient Texturing
UV mapping is the process of projecting a 2D image (your texture) onto a 3D model’s surface. Proper UV mapping is essential for efficient and high-quality texturing. Poor UV mapping can lead to stretched, distorted, or pixelated textures, ruining the visual quality of your model. The goal is to create a UV map that unfolds the model’s surface into a 2D plane in a way that minimizes distortion and maximizes texture resolution.
Tools within 3ds Max, like the Unwrap UVW modifier, allow you to manually edit and adjust UV maps to achieve optimal results. Techniques like planar mapping, cylindrical mapping, and box mapping are often used for simple shapes, while more complex models may require custom UV layouts. Consider a simple cube: Planar mapping would work well for each face, resulting in clean, undistorted textures.
A more complex model, like a character, requires a more customized approach to ensure that the texture doesn’t look stretched or compressed on different body parts.
Texturing Techniques and Suitability
Different texturing techniques are suited for different objects and desired visual effects. Procedural textures, generated by algorithms, are great for creating repetitive patterns or infinite textures like marble or wood, allowing for seamless tiling and efficient use of texture memory. Bitmap textures, which are imported images, offer more control over fine details and are ideal for realistic textures like photographs of wood or fabric.
For example, a procedural marble texture might be suitable for a large building’s facade, whereas a high-resolution bitmap texture of a specific type of wood would be ideal for a close-up shot of a wooden table. Displacement mapping, on the other hand, modifies the actual geometry of the model based on a grayscale image, allowing for extremely detailed surface relief.
This is often used to create realistic terrain or highly detailed models, but it’s computationally expensive and increases polygon count. The choice of technique depends on factors like the object’s complexity, the level of detail required, and the performance constraints of your project.
Lighting and Rendering in 3ds Max
Okay, so we’ve nailed the basics of 3ds Max – modeling, texturing, the whole shebang. Now it’s time to bring our creations to life with lighting and rendering. This is where your models really start to pop, and you can create truly stunning visuals. Think of it as the final polish that transforms a good model into a great render.Lighting and shadowing are fundamental to establishing mood, depth, and realism in a 3ds Max scene.
The interplay of light and shadow creates form, defines volume, and guides the viewer’s eye. By strategically placing and adjusting light sources, you can control the overall atmosphere and highlight key features of your model. Think of a dramatic spotlight on a character’s face versus a soft, diffused light in a cozy room – totally different vibes!
Light Sources and Shadowing Techniques
ds Max offers a variety of light source types, each with its own unique properties and effects. For instance, a point light emits light equally in all directions, creating a soft, omni-directional glow. A directional light, like the sun, casts parallel rays, resulting in hard-edged shadows. Spotlights, on the other hand, produce a cone-shaped beam of light, perfect for highlighting specific areas.
The properties of each light source, such as intensity, color, and decay, can be adjusted to fine-tune the lighting effect. Shadowing is equally important. Hard shadows create a more dramatic and stylized look, while soft shadows add a sense of realism and depth. The softness of shadows is determined by the size of the light source and the distance between the light and the object.
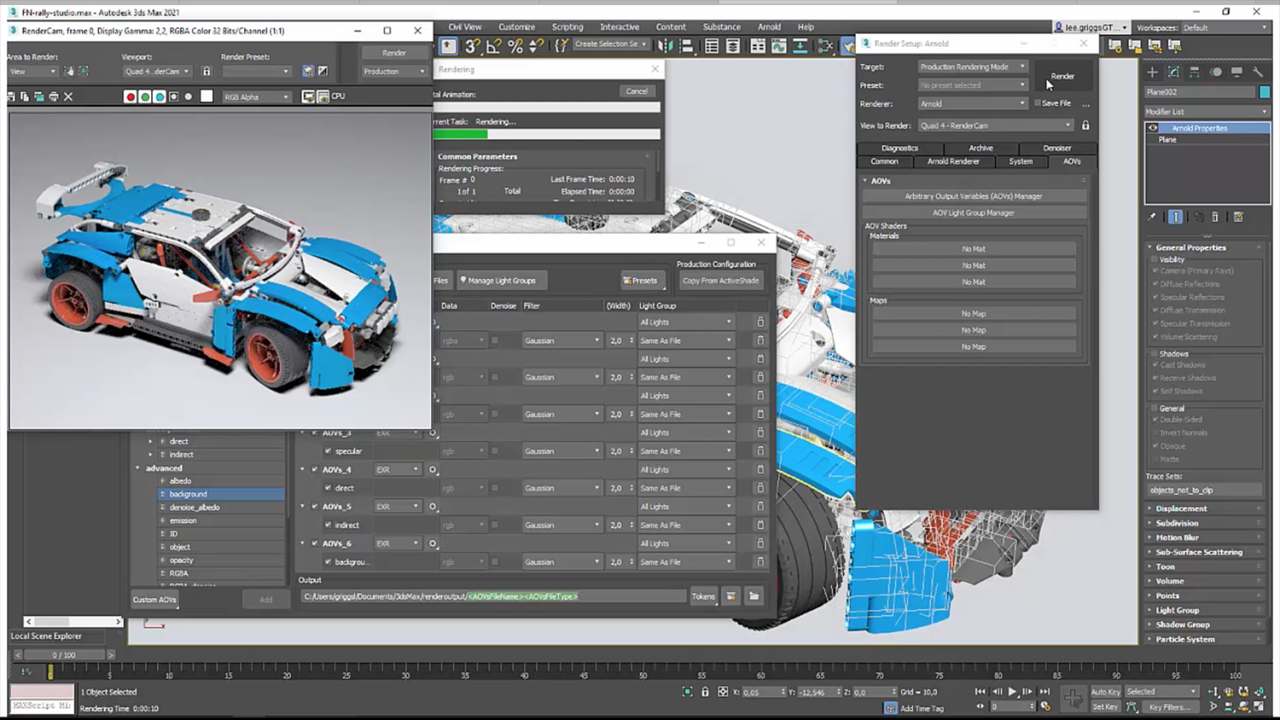
Comparison of 3ds Max Render Engines
ds Max provides several powerful render engines, each with its own strengths and weaknesses. Scanline rendering is a classic, fast option suitable for simple scenes, while mental ray, now discontinued but still used in older projects, offered high-quality photorealistic rendering with advanced features like global illumination and caustics. Arnold, a physically-based renderer, is known for its speed and ability to produce incredibly realistic images.
V-Ray, another popular choice, is a powerful and versatile renderer with a wide range of features and a large community supporting it. The best engine for a particular project depends on the desired level of realism, render time constraints, and the complexity of the scene. For example, a quick architectural visualization might use Scanline, while a highly detailed animation might benefit from Arnold’s speed and efficiency.
Interior Lighting Setup: Natural and Artificial Light
Let’s create a lighting setup for a simple interior scene. Imagine a living room with a large window on one side. For natural light, we’ll use a daylight system simulating the sun and sky. This provides realistic illumination through the window, casting soft shadows inside the room. To supplement this, we’ll add artificial light sources.
A warm-toned area light above the dining table simulates a ceiling fixture, providing general illumination. Several smaller point lights could be strategically placed to illuminate specific areas, such as a reading lamp on a side table. Finally, we can add subtle ambient lighting to brighten darker corners and prevent the scene from looking too dark or harsh.
This combination of natural and artificial light creates a realistic and inviting atmosphere. The overall intensity and color temperature of the lights can be adjusted to achieve the desired mood and look, such as a bright and airy space or a cozy and intimate setting.
Animation Fundamentals in 3ds Max

Alright, so we’ve covered the basics of 3ds Max – modeling, texturing, lighting – now it’s time to bring it all to life with animation! This section will cover the fundamentals of animation in 3ds Max, focusing on keyframe animation and motion paths. We’ll even build a simple animation sequence to get you started.
Animation in 3ds Max, at its core, involves manipulating object properties over time. Think of it like creating a series of snapshots that, when played back, create the illusion of movement. We achieve this primarily through keyframes, which are essentially markers that define an object’s position, rotation, or other properties at specific points in time.
Keyframe Animation: The Bouncing Ball
Animating a simple bouncing ball is a great way to grasp the concept of keyframes. First, you’d create a sphere in 3ds Max. Then, you’d open the animation timeline. To create a bounce, you’d set a keyframe at the ball’s starting position. Then, you’d move the timeline forward, position the ball higher, and set another keyframe.
This represents the ball at the apex of its bounce. Continue this process: move the timeline forward, place the ball lower than the starting position (to show the compression of the bounce), create another keyframe. Repeat this pattern for several bounces, adjusting the height and position of each keyframe to control the arc and realism of the bounce.
Finally, you’d play the animation to see your bouncing ball. The smoothness of the bounce is controlled by the number of keyframes and how you space them across the timeline. More keyframes generally mean smoother animation.
Motion Paths: Guiding Movement
Motion paths provide a powerful way to control an object’s movement along a predetermined path. Imagine you want to animate a car driving along a winding road. Instead of manually keyframing the car’s position at every point, you can create a spline representing the road. Then, you assign the car to follow this spline as its motion path.
The car will automatically move along the spline’s curve, making animation much easier and more precise. You can adjust the speed at which the car travels along the path by manipulating the motion path’s parameters.
Character Animation Sequence: Simple Interaction
Let’s design a simple animation sequence involving character movement and interaction. Imagine two stick figures, one standing still and the other walking towards it. The walking figure would use keyframes to animate its legs and arms, creating a walking cycle. The keyframes would control the position and rotation of each limb to simulate walking motion. To make the interaction more engaging, we could add a simple hand wave as the walking figure approaches the stationary one.
This involves keyframing the arm’s position and rotation to create a smooth waving motion. The overall timing of the animation is crucial to make it look natural and believable. You’d adjust the timing of each keyframe to create the desired rhythm and pace. The sequence could conclude with both figures standing side-by-side.
Advanced 3ds Max Techniques: 3dsmax
Okay, so we’ve covered the basics of 3ds Max. Now let’s dive into some seriously cool, advanced stuff that’ll take your models and animations to the next level. We’ll be exploring particle systems for realistic effects, hair and fur creation, and advanced rigging techniques for complex character animation. Get ready to unleash your inner digital artist!
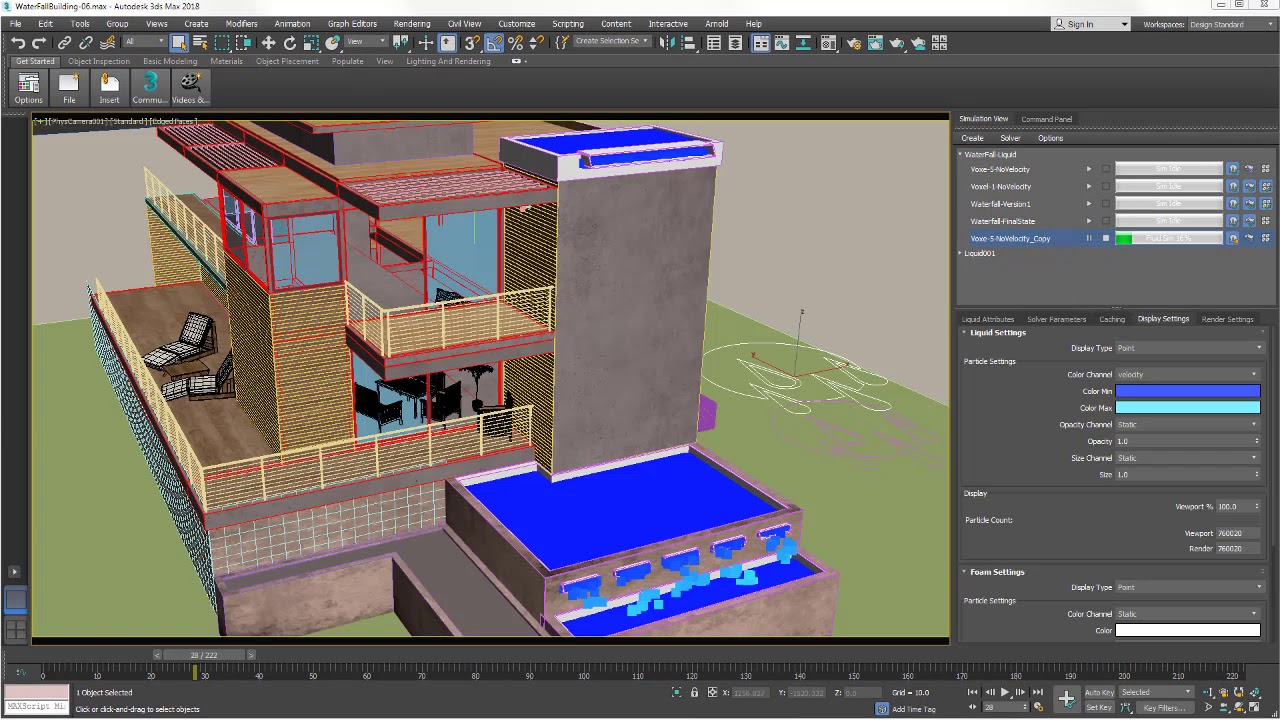
Particle Systems for Realistic Effects
Particle systems are a powerful tool in 3ds Max for generating realistic effects like smoke, fire, and explosions. They work by creating and manipulating a large number of individual particles, each with its own properties like size, color, and velocity. By carefully adjusting these parameters and using different emitters and modifiers, you can create incredibly detailed and believable simulations.
For example, to create realistic smoke, you might use a volume-based emitter to create a swirling cloud of particles, then apply a turbulence modifier to add randomness and movement. Color changes over time can simulate heat dissipation. Think of the iconic volcanic eruption scene in a movie; that’s achievable with sophisticated particle system manipulation. Careful control of particle lifespan, decay, and interaction with other objects adds to the realism.
Hair and Fur Creation in 3ds Max
Creating realistic hair and fur in 3ds Max involves using specialized tools and techniques. The process typically begins with creating a guide curve, which defines the overall shape and direction of the hair or fur. Then, you use a hair modifier to generate individual strands along these curves. Each strand’s properties, such as length, thickness, and color, can be adjusted to create variation and realism.
Advanced techniques involve using maps to control hair distribution and density, resulting in more natural-looking results. Imagine creating a fluffy, realistic-looking animal character – this level of detail is made possible by leveraging the capabilities of these hair and fur creation tools. The complexity and computational power required increase significantly with the number of strands, requiring optimization strategies for efficient rendering.
Advanced Rigging Techniques for Complex Character Animations, 3dsmax
Advanced rigging in 3ds Max goes beyond simply creating basic bone structures. It involves creating robust and efficient rigs that allow for complex and believable character animations. This includes techniques like creating layers of control, using inverse kinematics (IK) for more natural limb movement, and implementing custom scripting to automate tasks and add additional functionality. For instance, facial rigging often requires meticulous work, creating numerous controls for subtle facial expressions.
Consider the intricate movements of a character’s face in a high-quality animated film; these effects are achieved through sophisticated rigging and animation techniques. The ability to create detailed facial expressions and body movements is essential for creating lifelike and engaging character animations.
3ds Max Plugins and Extensions
Okay, so we’ve covered the basics of 3ds Max. Now let’s talk about the real fun stuff: plugins and extensions! These add-ons can seriously boost your workflow and unlock features you wouldn’t find in the standard software. Think of them as power-ups for your 3D modeling arsenal. They can range from simple time-savers to incredibly complex tools that completely change how you approach a project.Plugins extend 3ds Max’s capabilities by adding new tools, functionalities, and workflows.
Installing and configuring them is usually straightforward, though the specifics depend on the plugin itself. Some integrate seamlessly, while others might require a bit more setup. Understanding how these plugins work and what they offer is crucial to maximizing your 3ds Max experience.
Plugin Installation and Configuration
The installation process typically involves downloading the plugin from the developer’s website, then running an installer. This installer usually adds the plugin to 3ds Max’s plugin directory. Once installed, you’ll often find the new tools within 3ds Max’s menu system or toolbars. Some plugins might require configuration; for example, you might need to specify paths to external files or adjust settings to optimize performance.
Always refer to the plugin’s documentation for detailed installation and configuration instructions. For example, a common step might be navigating to the Customize menu within 3ds Max, selecting Customize User Interface, and then adding the plugin’s commands to a toolbar for easy access.
Comparison of Three 3ds Max Plugins
Let’s compare three popular plugins: FStorm Render, RailClone, and Quixel Megascans. These represent different areas of 3ds Max functionality.
First, FStorm Render is a powerful and versatile renderer known for its speed and ease of use. It offers photorealistic results with a user-friendly interface, making it a great alternative to the default renderer, especially for projects demanding fast render times. Its features include advanced lighting, realistic materials, and efficient workflow tools. In contrast to some render engines that require extensive setup and expertise, FStorm’s intuitive interface allows even beginners to achieve stunning results.
Imagine rendering a complex architectural scene—FStorm would likely deliver high-quality results significantly faster than some of its heavier competitors.
Next, RailClone is a procedural modeling plugin specializing in creating repetitive elements like fences, walls, or road networks. Instead of manually modeling each individual component, RailClone lets you define a single segment and then automatically generate an entire structure. This drastically speeds up the modeling process and ensures consistency. Think of building a long, detailed fence. Instead of modeling each picket individually, RailClone would allow you to define a single picket and then easily create hundreds or thousands of them with minimal effort, ensuring uniformity and saving considerable time.
Finally, Quixel Megascans isn’t strictly a plugin in the same way as the others, but it integrates deeply with 3ds Max. It provides a massive library of high-resolution textures, models, and materials scanned from real-world objects. This significantly enhances your ability to create realistic scenes without having to create every asset from scratch. For example, if you need a highly detailed rock for a landscape, Megascans would provide a realistic, photogrammetry-based model and accompanying textures ready to import directly into your 3ds Max scene, saving days or weeks of modeling and texturing work.
Creating a Simple 3D Scene in 3ds Max
Alright, so you’ve got the basics down – navigating the interface, modeling some shapes, and even messing around with materials. Now let’s put it all together and create a simple, yet satisfying, 3D scene. We’ll walk through modeling a basic object, applying a texture, setting up some lighting, and finally rendering the whole thing. Think of it as your first foray into actually
making* something cool in 3ds Max.
Step-by-Step Scene Creation
This section details the process of creating a simple scene, from initial modeling to final rendering. Each step builds upon the previous one, culminating in a rendered image. Following these steps will allow you to create a simple, yet visually appealing scene in 3ds Max.
| Step | Action |
|---|---|
| 1 | Model a Cube: Start by creating a simple cube using the “Create” menu. Adjust its size using the gizmo to your liking. Maybe make it a nice, roomy 5x5x5 units. This will be the base of our scene. |
| 2 | Apply a Material: Go to the Material Editor. Create a new Standard material. Experiment with the Diffuse color – let’s go with a cheerful, bright blue. You can also adjust the reflectivity and glossiness to add some subtle shine. This step gives our cube some visual character. |
| 3 | Add a Light: Select a light source from the “Create” menu (a simple Omni light works well for this). Place it strategically above and slightly in front of the cube. Adjust the intensity to illuminate the cube nicely – you don’t want it to be too dark or too bright. This light will provide the necessary illumination for our scene. |
| 4 | Set up the Camera: Create a camera using the “Create” menu. Position it so that the cube is clearly visible and well-framed within the camera’s view. Think about what angle will best showcase your blue cube – a slightly elevated perspective might look good. Adjusting the camera’s position and field of view helps to compose the shot effectively. |
| 5 | Render the Scene: Finally, render your scene using the render settings of your choice. Experiment with different renderers (like Scanline or Mental Ray, depending on your 3ds Max version) to see how the rendering output changes. This step brings your scene to life, allowing you to view the final product. |
Adding More Complexity (Optional)
Once you’ve got the hang of this basic scene, you can easily add more elements. Think about adding another cube, perhaps a smaller one, and experimenting with different materials and colors. You could even add a simple plane as a ground, texturing it with a wood or stone material to add more visual interest. The possibilities are endless, and each addition will enhance your understanding of scene creation.
For instance, try adding a directional light to simulate sunlight, casting shadows and creating a more realistic scene. Or perhaps add a spotlight to highlight a specific feature of your cube.
Troubleshooting Common 3ds Max Issues
Okay, so you’ve conquered the basics of 3ds Max, but now you’re facing some frustrating glitches. Don’t worry, it happens to the best of us! This section will cover some common problems and offer solutions to get you back on track to creating awesome 3D models. Remember, patience and systematic troubleshooting are key.
Scene Not Rendering Correctly
A scene failing to render properly can stem from several sources. It’s crucial to systematically check each potential problem area. Often, the issue isn’t a catastrophic system failure, but a minor oversight in your scene setup.
- Missing or Incorrect Render Settings: Double-check your render settings in the Render Setup dialog. Ensure you’ve selected the correct renderer (e.g., Arnold, V-Ray, Scanline), output resolution, and file format. A common mistake is forgetting to assign a renderer or selecting an incompatible one.
- Lighting Problems: Insufficient lighting or improperly configured lights can lead to a dark or poorly lit render. Make sure you have adequate light sources illuminating your scene. Experiment with different light types and intensities to achieve the desired effect. Consider adding ambient lighting for a more even illumination.
- Hidden Geometry: Sometimes, parts of your model might be accidentally hidden or frozen, preventing them from rendering. Check your viewport’s display options and ensure all objects are visible and unfrozen. Look for accidental grouping or parenting issues that might be blocking rendering.
- Material Issues: Incorrectly assigned or configured materials can cause rendering problems. Verify that materials are correctly applied to your objects and that their settings are appropriate for your scene. A missing or corrupted texture map is a frequent culprit.
- Render Element Conflicts: If you are using render elements, ensure they are properly configured and don’t conflict with each other. Incorrect settings can lead to unexpected results or render failures.
Unexpected Crashes
Unexpected crashes are the bane of any 3D artist’s existence. They can be caused by a variety of factors, ranging from insufficient system resources to corrupted files.
- Insufficient System Resources: 3ds Max is a resource-intensive application. Ensure your system meets the minimum requirements and that you have sufficient RAM, a powerful graphics card, and enough free hard drive space. Closing unnecessary programs before launching 3ds Max can also help.
- Corrupted Files: A corrupted scene file or plugin can cause 3ds Max to crash. Try saving your work frequently and regularly backing up your files. If a specific plugin seems to be causing the crashes, try disabling it temporarily.
- Outdated Drivers: Outdated or incompatible graphics card drivers are a common cause of crashes. Make sure your graphics card drivers are up to date. Check the manufacturer’s website for the latest drivers.
- Plugin Conflicts: Conflicts between different plugins can sometimes lead to crashes. Try disabling plugins one by one to identify the culprit. If possible, update plugins to their latest versions.
- Overly Complex Scenes: Extremely large and complex scenes can overwhelm 3ds Max’s resources, leading to crashes. Consider simplifying your scene by optimizing geometry or using proxies for high-poly models.
Issues with Materials and Textures
Materials and textures are fundamental to creating realistic and visually appealing 3D models. Problems with them can significantly impact the final render.
- Missing or Corrupted Texture Files: Ensure your texture files are in the correct location and haven’t been accidentally deleted or corrupted. Double-check file paths in your material editor.
- Incorrect Texture Mapping: Improperly applied texture maps can result in distorted or stretched textures. Review your UV mapping and ensure it’s correctly aligned with your model’s geometry.
- Material Assignment Errors: Make sure materials are correctly assigned to the appropriate objects. Check for any objects that might have accidentally inherited the wrong material.
- Incompatible Texture Formats: Some renderers may not support certain texture formats. Ensure you’re using formats compatible with your chosen renderer.
- Shader Issues: Problems with the shaders used in your materials can cause unexpected results. Check shader parameters and settings to ensure they are correct and optimized for your scene.
Final Wrap-Up

So, you’ve conquered the world of 3ds Max – or at least a significant chunk of it! From navigating the interface to rendering photorealistic scenes, you’ve learned the skills to bring your 3D visions to life. Remember, practice makes perfect, so keep experimenting, pushing boundaries, and exploring the endless possibilities within this powerful software. Don’t be afraid to dive into those plugins and explore the vast community resources – the 3D world is your oyster!
Top FAQs
What’s the difference between V-Ray and Arnold renderers?
V-Ray and Arnold are both popular renderers, but they have different strengths. V-Ray is known for its speed and ease of use, while Arnold excels in producing high-quality, photorealistic images, often requiring more processing power.
How do I fix a corrupted 3ds Max file?
Try opening the file in a previous version of 3ds Max. If that doesn’t work, search for backup files. As a last resort, you might be able to salvage parts of the scene by manually recreating elements.
Is there a free version of 3ds Max?
No, there isn’t a fully functional free version of 3ds Max. However, Autodesk offers student and educator licenses.
What are some good resources for learning more about 3ds Max?
Autodesk’s official website, YouTube tutorials, online courses (like Udemy or Coursera), and forums dedicated to 3ds Max are all excellent resources.